Monday, February 3, 2014

A Little Advice

Hey there fellow beauty lovers! I just wanted to write a little post with a bit of advice for you for anyone who is just getting into makeup, looking to get back into makeup, or simply needs to refresh their kit. I love makeup. It's my passion, obsession, hobby, and career goal. I just feel that, like my "mission statement", confidence in one's image is essential to happiness. That doesn't mean you need to go all out with your makeup and that doesn't mean you need to keep your daily makeup super simple either. It just means that whatever you do or don't do to your look is fine as long as you feel confident. Everyone loves a confident person and you'll like yourself even more.

Now if you've read my blog, you know I don't discriminate makeup brands. Just because something is low cost doesn't mean always it's "cheap", drug store products don't mean they can't ever work, and high end products don't necessarily mean "over-priced" for the same thing elsewhere. You just need to have some knowledge before shopping like key ingredients in skin care that you need and ingredients cosmetic counters tell you about that are irrelevant. Read blogs and watch vlogs and talk to people that have a look you like and make your shopping list based on that.

One of my favorites is NYX Cosmetics. They are sold directly from the manufacturer online at their website, at Ulta in store and online, and they are now available at some Target locations. I would compare their products to MAC Cosmetics in that they are highly pigmented and great for everyday as well as in pictures, but they are a little less costly than MAC. Now don't get me wrong; I love me some MAC. MAC's Paint Pot in Painterly is my all time favorite eye primer or to wear alone with liner for a simple look and nothing I've tried yet has been better. NYX offers a wide range of makeup, primers, and more like MAC, just a little less costly. Downside to them is that while they can be found in some stores, the best way to shop is from NYX directly because you have the best selection of products, colors, and comparison shopping as stock in store for favorites tend to be low. Now when ordering online, you end up with the issue of shipping costs, feeling like the order isn't worth buying essentially a product  or more in shipping. Luckily many cosmetic sites offer free standard shipping once you hit a certain threshold. NYX offers free standard shipping on orders of $25 or more! That's one hell of a deal. Many places only offer free shipping once you've spent $100 or more, almost making you over shop to get the free shipping. UBER BONUS?! NYX invites you to sign up when you first visit their site by providing an e-mail account, name, and zip code and they e-mail you a coupon code for *get this* 25% off your ENTIRE FIRST ORDER!!!!!!!!!!! AND YOU STILL GET THE FREE SHIPPING!

So go shop away. Google products for reviews, or colors to view swatches people have posted, comment here if you have any questions, or take some time at an Ulta or Target that has NYX and see what colors you'd need with the testers and make a nice list then go splurge with one hell of a discount at NYX Cosmetics.

Don't forget to:


Friday, January 31, 2014

Weekend! What's good? You've been missed.

So it is time for the weekend now, which means those eyes get smokier, that liner gets black and done up, and you are going out! I had the pleasure of going out on Wednesday (who says you can't have a weekend night any night?!) Anyway, here's an idea for a "night out" look and how I achieved it! Hope you enjoy! Feel free to comment with any questions!
 
First, always begin with a clean face for best application and results. I use my Victoria's Secret PRO SMOOTH FX Lip Scrub & Balm to prep my lips. I use the scrub portion, massaging on in a circular motion and then I tissue it off. I then apply a thin layer of the balm to protect my lips during makeup application.

Next, I apply Maybelline's Dream Fresh BB in the Light/Medium shade all over my face. It acts as a primer, but also provides a "candlelight" effect, diffusing and minimizing flaws, discolorations, redness, and blemishes. I next apply my concealer. I use NYX HD Photogenic Concealer in Light. I apply the concealer using a small foundation brush to my under eye circles, inner corner, and eyelids. This makes the entire eye area brighter, helps diffuse any visible capillaries on the eyelid and acts as a good base to your eye shadow base. I also apply the concealer to my cheeks to diminish redness. Next I take the tip of my brush and apply the concealer around my lip line to make the lips more defined and appear fuller. Feel free to apply concealer anywhere else you feel needs a little extra coverage. Remember to dab on the concealer to the intended area then using a stippling effect (quickly dabbing the brush on your face and moving around the necessary area at the same time).

Now it's time for foundation! I use ULTA Fabulous Face Compact Foundation in Nude Beige. This does come with a round sponge, but I always prefer to use a brush. I LOVE Real Techniques Stippling Brush for foundation application. It's a dual fiber brush so it helps to create an airbrushed application. Again, use the stippling effect, but also feel free to apply in small circular motions so you get an even application instead of "painting on", which leaves lines. Be sure to work the foundation well into your jaw line and smooth it into your hairline for an even appearance. Bring the foundation down under your chin and slightly down your neck for consistency. I then set the foundation using NYC Smooth Skin Face Powder in Translucent (this is a loose powder) so apply using a large powder brush for a light application to simply set the foundation. Next, I apply a pressed powder for a smooth, completed finish and work the powder down my neck and into my collarbone for a flawless appearance all the way.

Next, it is time to contour! Remember, when face makeup has been applied correctly you have a blank slate. Your face is flawless; discoloration, redness, darkness, blemishes are all hidden. Therefore, you are washed out. You CANNOT stop here. I know so many people are scared of bronzers because so many people end up with that awful "oompa loompa" look. That just means your using the wrong one or applying too much or applying incorrectly. I use MAC Bronzing Powder in Matte Bronze. I prefer a matte bronzer so your face doesn't look like a glitter bomb exploded. Use a large, loose bristled powder brush for even, LIGHT application. Begin in the center of your forehead and sweep the brush down around the outside of your eye and onto your cheekbone, then back out and around to your chin. Repeat on the other side. Next, make a "fishy face" to suck in your cheeks. In that dip, apply the bronzer in an upward motion up & around your cheek bone. This will give your face definition and create the appearance or highlight natural high cheek bones. This application style provides contouring, but also leaving bronzer only where the sun would naturally "kiss" your face ... aka not under your nose!

Next I apply blush using a blush brush on the apples of my cheeks (smile and they'll pop out) and I sweep the blush up and around my eye on my temple area. This lifts your face and adds natural coloring. Then I take a highlighter and apply it over my cheekbones and around to the temple, in the dip under your lower lip, the dip above the center of your upper lip under your nose, down your nose, and above your eyebrows. You're now contoured and look like you're still alive with natural coloring in your face .. sans flaws! In this look I used a combination of the 4 blushes and the medium highlighter (center shade) from NYX's BUTT NAKED - TURN THE OTHER CHEEK palette. Now onto the eyes.

I first always apply MAC Pro Longwear Paint Pot in Painterly. It's my love! Like makes it into the "can only have 3 things when stranded on a desert island scenario" kind of love so go get it now and be amazed! Apply this to the entire eye lid from lash line to brow and into the inner corner of the eye. I then took an eye shadow brush and applied ULTA Eyeshadow in Iceland by dabbing it on from my lash line to my crease and building the color. Then I brought it up under my eyebrow and into the inner corner, as well as just under the tear duct area. This color is a shimmery white, perfect for a traditional smoky eye. Next, I applied a matte black eye shadow, NYX Nude Matte Shadow in Stripped. I began by applying the black with an angled eyeshadow brush, always using the angled side. I began in my outer corner and worked my way in through the crease. Next I took a blending eyeshadow brush and followed the same line working in small circular motions to blend and smooth the black shadow. I was so happy to see I only needed these two colors because the shimmer of the white under the black mixes in creating an easy natural transition. Next I applied a cream black eyeliner using an eyeliner brush, staying as close to the lash line as possible from the inner to outer corner and as this was a "going out" look, I created a winged look too for a little more drama. I also applied some black shadow just under my lower lash line and used a black liner pencil in my lower water line. Finish up with some mascara and you are almost done!

BROWS! They frame your face, define your eyes, and are just freaking necessary! And if you don't do them, they are diminished by the face makeup and are even less noticeable than having no makeup on. I use a disposable mascara wand to brush out my brows first. Then I take an eyebrow pencil, freshly sharpened to be precise, and I fill in the entire brow in short, small strokes. I used ULTA Ultimate Brows Shade & Shaper Pencil in Brunette.

Now, I use a tissue to wipe off the balm from my lips. The balm catches any and all makeup that lands on your lip and helps it wipe off smoothly. I then reapply a very thin layer of lip balm for a smooth base. Then I applied a pink lipstick and gloss. I used an NYX lipstick and Sephora's Lip Gloss in baby doll pink.


Well that's all loves! Feel free to click any of the links above to see the product I mentioned and comment if you have any questions at all! Don't forget to Pin, Like, and Share! Smooches boo!


Wednesday, January 29, 2014

Prepping for a Night Out

Now this post is coming a little early as it was inspired by my own prep for my date night with my hubby which was supposed to be Thursday, but is now Wednesday & technically today :). We all do the normal things like shower, shave, pick out an outfit and so on, but you can really prep yourself to make makeup application smoother, faster, easier, and most importantly leave your skin looking its best! Less to cover with makeup and a great base to start with!

First, before showering, use a lip scrub. I love Victoria's Secret's PRO SMOOTH FX Lip Scrub & Balm $16. It's a two part container with a larger bottom with the scrub and a screw-off lid. Inside the lip is the lip balm with a flip top. It's a sugar scrub and smells delicious. You rub a pea-sized amount on both lips in a circular motion to remove dry and dead skin and exfoliate to leave your lips smooth, kiss & lip stick ready! For a little extra exfoliation, use a toothbrush to exfoliate in a circular motion with the scrub. After about 30 seconds, you just tissue the scrub off and apply the balm. You can use a little more overnight, but when using right before going out, only use a thin layer as a lip color base. Anyway, use the scrub before showering because when you tissue off, sometimes little bits of the scrub remain and when you rub on the balm, it can be somewhat irritating instead of feeling relieving. Showering will fix that!

Next shower in your normal routine, obviously including washing your face with a face wash. Before doing any type of treatment to your skin, you want to start with a clean face, meaning all dirt, oil, and makeup is washed away so your treatment isn't fighting through all that stuff to get to your skin ... if it even makes it there.

My absolute favorite skin prep for a night out, event, or just a kick-start/refresher for my skin is Philosophy's "the oxygen peel". It uses oxygen to "exfoliate, smooth, and hydrate your skin". You simply break one capsule into the plastic container provided, filled half way with warm water. The instructions tell you to add the water after you break the capsule, but I've found it chunks in the edges of the bottom of the container, wasting product so break the capsule into the water. Shake well and let stand for 1 minute to thicken and form a lumpy gel. Apply this gel to your face and neck (avoid eye area and also avoid the hairline and eyebrows as bleaching may occur ... never had this happen to me though so a tiny bit isn't a big deal). Then apply about a quarter sized amount of the oxygen foam over the gel and massage in. You will feel and see the gel and foam mix and react as the oxygen begins working. Leave on for 1-3 minutes, then remove with the scraper provided in a shaving motion. They say for sensitive skin, just rinse, but I have fairly sensitive skin and love the scraper so see what works for you. Next, just rinse and pat your face dry!

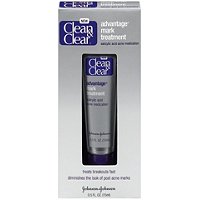
Clean & Clear Now is the time to apply serums, moisturizers, and eye creams. Lastly, I inspect my face for any blemishes and apply Clean & Clear Advantage Mark Treatment with Salicylic Acid. It dramatically reduces the size, redness, and even pain associated with pimples or boils overnight and when used repeatedly, removes the blemish all together ... perfect to get rid of those problem spots before a big night out! Oh and at this point, balm those lips up so they're nice & ready for your big night!


Tuesday, January 28, 2014

Beauty Haul B!tches!

Hey! Long time, no blog, right?! Well I finally have my laptop & internet up and running in my own house so I promise there will be much more frequent postings now. I updated the "Want to Get to Know Me" tab with a little bit about what is going on in my life so check that out, but I will say here I have a 2 year old and almost 4 week old so I'll blog as much as possible! Ok enough intro, here goes:

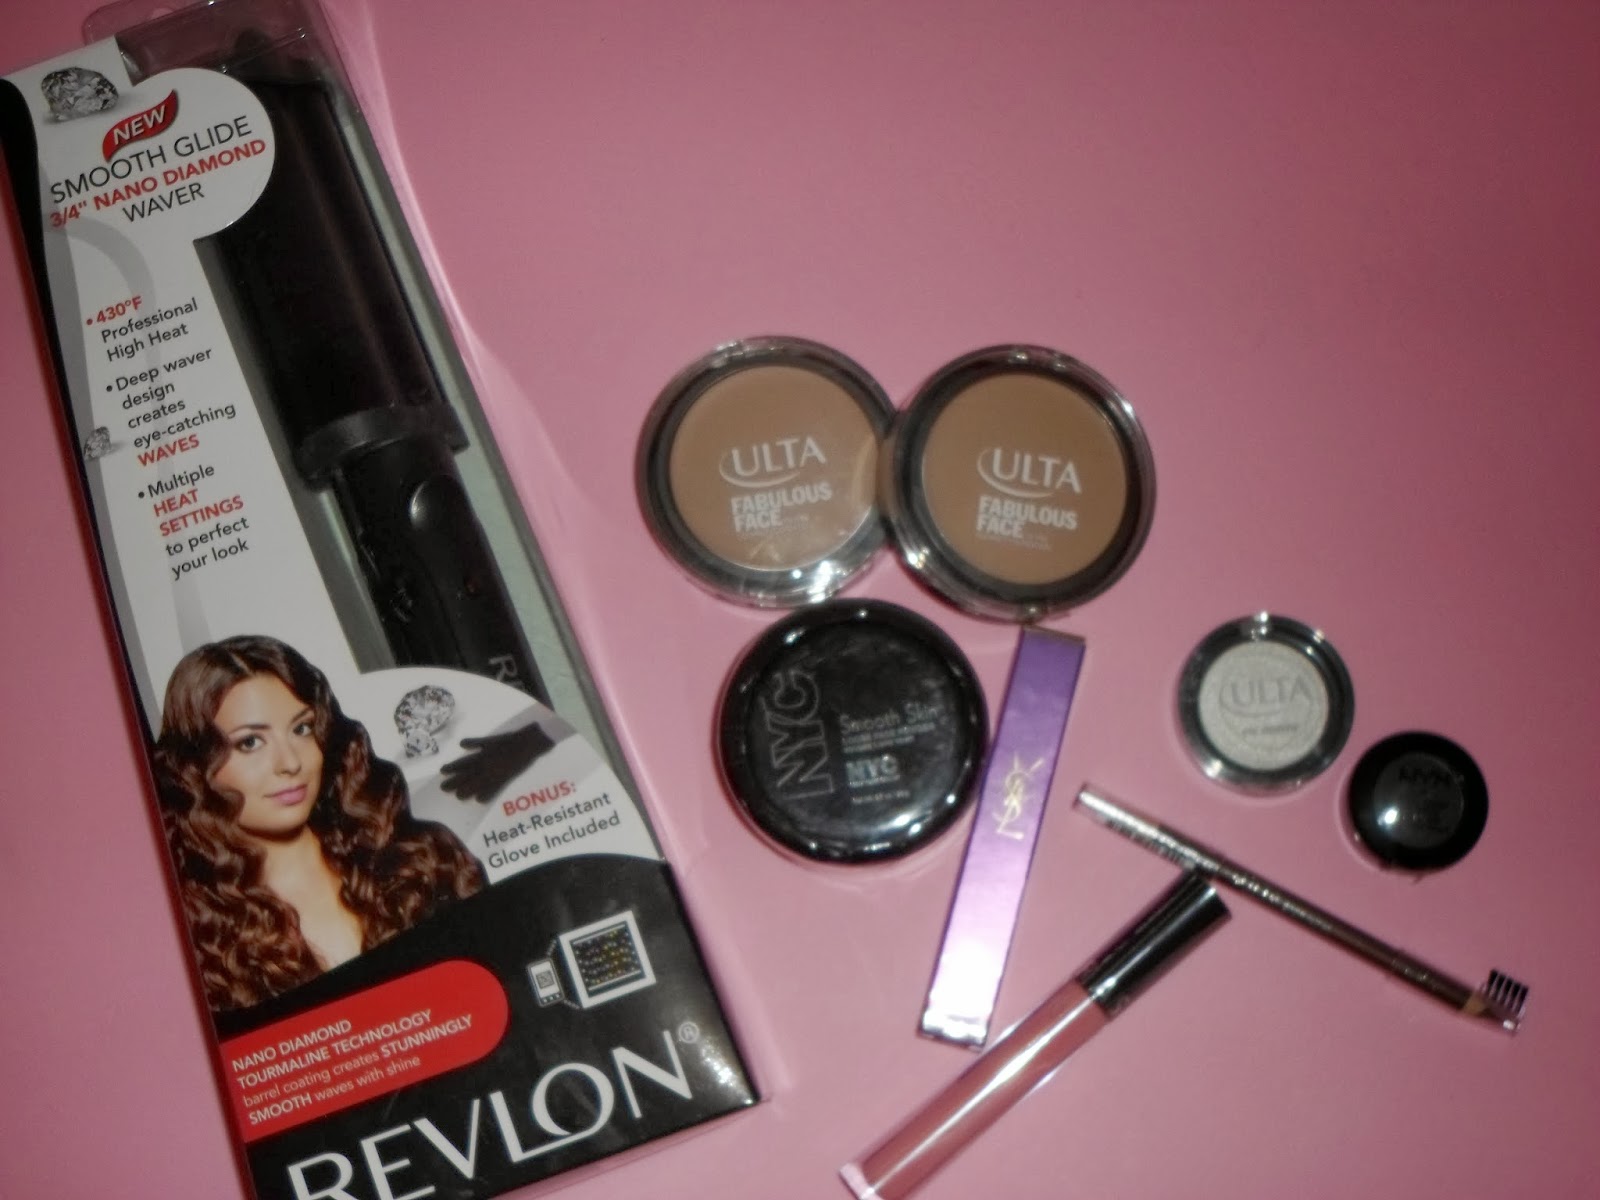
 Beauty Haul (Ulta & Sephora inside jcpenney)


1. REVLON Smooth Glide 3/4" NANO DIAMOND Waver (heat resistant glove included)
2. ULTA Fabulous Face Oil Free Compact Foundation (2) in NUDE BEIGE
3. NYC Smooth Skin Loose Face Powder in 741A Translucent
4. YSL Manifesto EAU DE PARFUM Rollerball
5. ULTA Eye Shadow in ICELAND
6. NYX Nude Matte Shadow in NMS02 STRIPPED
7. ULTA Brow Pencil (with shaper & brush) in Brunette
8. SEPHORA Lip Gloss in 10 baby doll pink (shiny)

I needed some refills of my foundation (from Ulta), my powder (Target), and my lip gloss (SEPHORA), but Ulta was having a super sale and I needed a couple new things especially for my date night with my hubby this week! We haven't been out for a "grown up" night out since before I became pregnant with my one month old, Aubree, so this date is much needed and I am going all out! :) I will take pictures of my hair and makeup and post a look & review this weekend of all these products (and some others I already own) so you can see what they look like when worn and how well they all worked (for me anyway)!

BUT I just wanted to let you all know about Ulta's sale right now so you can get in on it too! All Ulta brand products are buy 2, get 2 free AND they have a 20% off your ENTIRE purchase coupon too! There are tons of other sales & deals too so between those and that 20% off, now is the time to stock up on necessities or try that new thing you keep picking up and then walking away from since you'll get it on super sale!

Lots of love!

Saturday, September 7, 2013

Free Giveaways and AMAZING STEALS!


This is just a quick little post about some great deals I noticed going on! I didn't want my fellow beauty lovers to miss out!


1. Bath & Body Works is giving away their newest Fall fragrance, Amber blush before it hits stores this weekend only! It's a .25 oz mini Eau De Toilette spray bottle, a $7.50 value! Simply "like" Bath & Body Works on Facebook and either print the image or save it to your phone and show it in stores, now through September 9th! I'll post the image below to help you out, but you can click the link of "Bath & Body Works on Facebook and it will take you right to their page for more info.


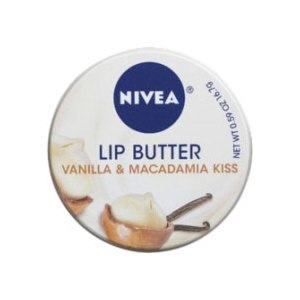
Nivea Lip Butter Loose Tin, Vanilla & Macadamia Kiss2. CVS has an amazing sale on Nivea lip butters! These are by far my favorite night time lip treatment for hydrating your lips and eliminating dry flakiness! They come in little tins in Smooth Kiss (unscented), Vanilla & Macadamia Kiss (my fave!),  Raspberry Rose Kiss, and Caramel Cream Kiss (my second fave)! Now these range in price but typically run $3.59 to $3.99 per tin. CVS has an upcoming sale starting Sunday of 3 Nivea Lip Butters for $6, making them $2.00 each! And on top of that, if you spend $10 on Nivea products, you get $3 ExtraBucks back when you use your CVS card! You can stock up for yourself or get some super early stocking stuffers or birthday party favors and by 6 lip butters for $12.00, earning you $3.00 in ExtraBucks to use on your next purchase. With those $3 free extrabucks back, your Nivea purchase is basically $9.00 for 6 lip butters, which would typically run you $21.54 at the low end and $23.94 on average. Super steal!


Friday, September 6, 2013

Fabulous Fall

I know technically it isn't Fall just yet (September 22 .. counting down the days!), but let's face it: back to school is here and fall fashions are all over! Here's a look at what Fall has to offer us as far as makeup, nails, clothes, and more!

Makeup:

Lips are a big big focus this fall! Full color using a lipstick and/or lip liner under glosses or by themselves is key. Harper's Bazaar wants us to know that this season is about much more than just the classic red lip. Neutrals, cranberries, and sweet pinks are all the it-shades! Bazaar even tells us how to get "bright, full lips" this season. First, you have to find the perfect color for you. Visit a department store cosmetic counter when you have some time and play! Try on a bunch of different shades to find the right undertone for your complexion. They tell us that "most people look good in a shade of pink, from corals to blue pinks" so find the right one and look for reds with the same undertone. It is also super important to prime your lips to make sure the color lasts. It will also fill in fine lines and smooth out flakes. Bazaar advises us to avoid balms with a slippery or wet texture or else your color will slide off. They recommend using a waxy or matte primer that dries fully, foundation can work too! Also, it can be very helpful to use a lip pencil in the same shade as your lip color to line your lip line and fill in your lips. It will help hold on your lip color and give it its truest shade. Then apply lipstick using a brush. After you apply your first coat, blot then apply a second. Creamy formulas are best to make your lips look full and luscious; stains can make your lips look lined.

Face and skin are key to this season's makeup. Ensure your complexion is even and flawless. Prime, apply foundation, concealer, and highlighter to even your skin tone and make a perfect canvas to enhance with blush, eye color, and of course your lips! Bazaar also gives us some "overnight skin savers" since our skin naturally repairs itself overnight so it's important that your skin care maximizes this recovery. First, deep-clean your face. Basic soap just doesn't do it for your face since it doesn't fully remove makeup, dirt, and oil or exfoliate your skin. Also, don't forget your serum. It may seem like an extra, but when your skin is freshly clean a problem-solving serum can be the best thing to kick-start your natural overnight skin repairs. Lastly, don't skip moisturizer. Serum is very important, but it doesn't pack moisture like a hydrating lotion.

As far as color in your look, plum is the way to go! From eye color to lips and even plum based cheek color, you'll be perfectly in style for fall.

Style:

Gold accessories are the it-look! From purses to shoes to jewelry gold tones are everywhere.

Neutral colors, black and whites, soft pinks, and deep colors like fine wine, plum, and royal blue are all over the runways and magazines so pretty much anything goes this season as far as color. Just be sure to add the fall staples of gold jewelry, round shoulder jackets, long, skinny clutches, and so much more! Just check out the fashion magazines at your check-out counters or walk through the department store displays and be on the hunt for a "look for less" and I'll get you started!


Example: Gold heels and matching clutch

Womens Fioni NightWomen's Lolita Strappy SandalAccessories Fioni NightWomen's Twinkle Crossbody

Payless BOGO 50% Sale: Shoes $26.99, bag $16.99 (lesser item 50% off), $8.50

Wednesday, September 4, 2013

Bye Bye Summer

Hello loves! Hope all is well! It's been almost a month since my last post, so sorry! I have missed you so :)! Let me give you a little update about my hectic last month then I'll give you the beauty tips you're here for! Zoe is now just over 20 months and talking up a storm! She has learned so many new words and is looking like she is ready to begin potty training! We found out that our next little bundle on the way is a girl too! So far the plan is to name her Aubree Noelle, but the middle name is still not 100%. I will be having her via c-section Dec. 30 ... yes the day after Zoe was born! I have my Christmas presents every year ... my two little girls! Anyway, I have so many topics I'd like to cover since I haven't written in so long, but today is a short and simple one as a last little hoorah! to say goodbye to summer.


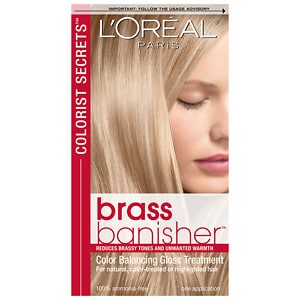
 Our topic for today is HAIR ... hair color that is. Summer is the season of blond. Whether natural blond is simply being lightened and brightened by the sun or we are dyeing our tresses a shade of that summertime color, it is common for most people to go lighter in warmer weather. However after enduring three months of sun, sand, chlorine, and so on of summer days that blond bombshell shade may just be looking a bit brassy now, which is NOT a good look! The UV rays everyone tries to soak up to get a nice bronzed tan also destroy blue pigments in color-treated hair, turning your locks to an orangey tinged shade according to First magazine. The fix that they recommend? A gloss that restores blue pigments, like L'Oreal Paris Colorist Secrets Brass Banisher for $10 at Ulta.


It is time to welcome in cooler nights, fall breezes, and to start thinking about an autumn beauty routine! Fix up that blond to make it fall-ready or start thinking about adding low-lights or going a slightly darker hue ... or take the plunge and go super dark and embrace the cool weather and the autumn fashions!

There are a lot of updates to what to look out for this Fall as well! From color trends to materials in clothing and accessories to makeup and nail polish shades, there is some new and exciting stuff coming our way! Keep an eye out for my Fall Fashion posts coming soon and possibly a somewhat in depth look at natural v. gel. v. acrylic nails and what really is best for you!

That's all for now loves! Thanks again for reading!